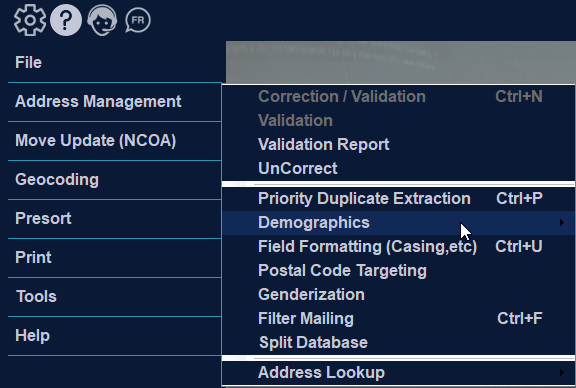
Demographics
You may append demographic data to your job file by clicking on “Append Demographic Data” under the demographics tab in the iAddress™ file menu. This function will generate fields in the database with your results for append. You may choose your 3 categories and sub-categories and process the data for append.
A demographics append report will be generated listing all the categories and sub-categories you have chosen.
You may click on “View Records” to see the new categories which have been created in your database with the additional demographic data. The Demographic analysis tab will give you the opportunity to view and print a variety of reports.
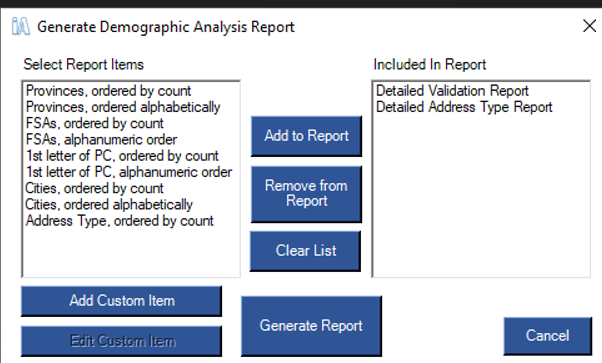
Selecting the Demographic Analysis option on the Address Management menu displays information on your job by province, address type, FSAOM and city. After running correction/validation on your job and selecting Demographic Analysis, you may select which items you wish to see in your report by using the “Add to Report” and “Remove from Report” buttons. Click “Generate Report” to create the report. The report will appear, and you have the option to save, print, set-up a printer or cancel out of the report preview.
If you are curious to know the status of your demographic account, you may click on “Demographic Account Status” and you will see a screen pop up which will outline the amount of records you have left and the status of your subscription.
If you would like to order demographic records, then you may do so by clicking on “Demographic Order Form”. A form will appear and will outline the associated costs with records. You may fill in your information and submit the order form.