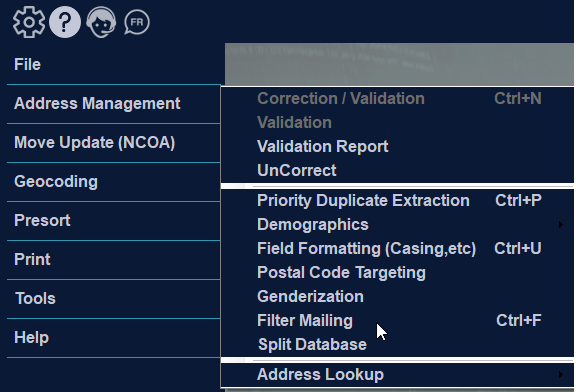
Filter Mailing
You may wish to mail only parts of your job, perhaps as a random sampling or to addresses meeting specific requirements. By selecting Filter Mailing from the Address Management menu, you can decide how many addresses and which addresses you want to use for your mailing.
After selecting Filter Mailing, you have several options to choose from. You may choose one of the following tab options:
- Demographics:
- Intelligent Selection: Allows you to select your mailing by removing States/Provinces, Cities, Address Types and/or FSAOMs (Canada)/Zip CodeTM (US).
- Random Selection: Allows you to choose a sample mailing from within your database.
- SQL Exclude: An expert filter, which allows you to craft a database query to remove records from your database.
- Address Filter: A combination filter allowing exclusion based on correction types, files or blank lines.
- Extra Characters: Removes symbols and other characters that represent commands in certain database formats. These symbols and characters can impact printing of files later.
- Custom Exclude: An advanced custom filter that allows you to filter based on specific rules.
- Geocode Filter (Canada Only): If you have run Geocoding with a distance list, you may filter out records based on distance.
Demographics
You may access the demographic categories through the “Filter Mailing” tab iAddress™. Here you have the option to select demographic categories and sub-categories to filter by and apply to your mailing list.
Here you will be prompted to confirm that you agree to the charges associated with the amount of demographic records listed. You may click yes or no.
A demographics filter report is then generated where you can view all the categories and sub categories you selected along with the amount of records purchased, and other pertinent information.
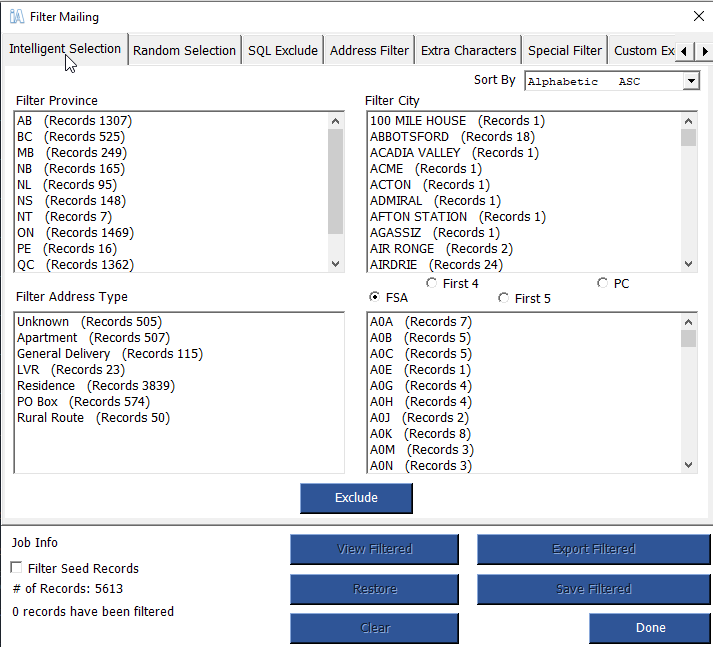
Intelligent Selection
Excluding Addresses
Using the Intelligent Selection Tab, you can delete addresses from your job based on the following criteria:
- Province/State
- City
- Address Type (eg. apartments, residences, etc.)
- (Canadian Mailing) FSAOM (first three characters of the Postal CodeOM), the first four or five characters of the Postal CodeOM, or the entire Postal CodeOM.
- (US Mailing) Three or five digits of the Zip CodeTM.
Scroll through the lists to view the options within each criteria. The number of records that match that filter option are listed after each item. In order to exclude more than one item from each criterion, select the first one and click the Exclude button. Select the second item and click the Exclude button. When you are satisfied with your choices, click “Done”.
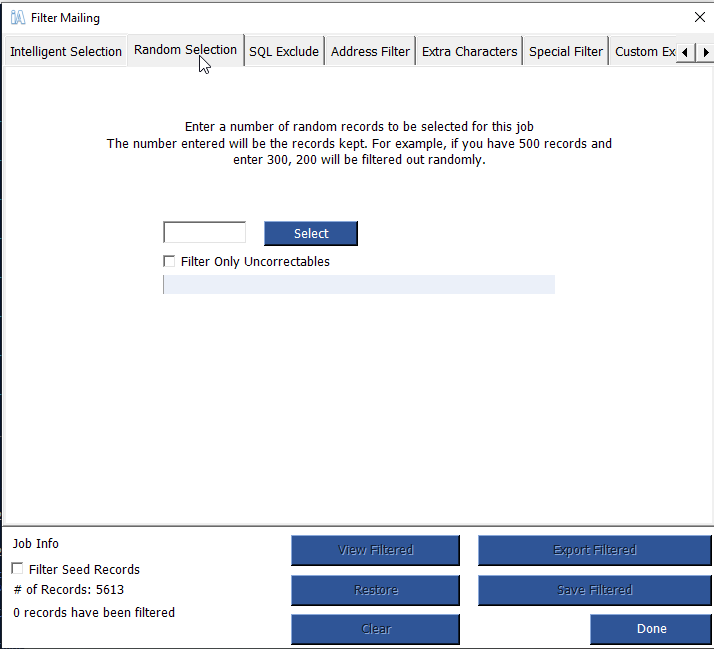
Selecting a Sample Mailing
To prepare a random sample from your database, click on the “Random Selection” tab.
- Enter the number of records. After pressing “Select”, the total number of records in the database is changed to the number you selected. You may still exclude addresses from this sample using the Intelligent Selection and Exclude Tool options.
- If you select the “Filter Only Uncorrectables” option then the records that are discarded will come only from the uncorrectable records. If you do not have enough uncorrectable records then nothing will be filtered and you will be informed.
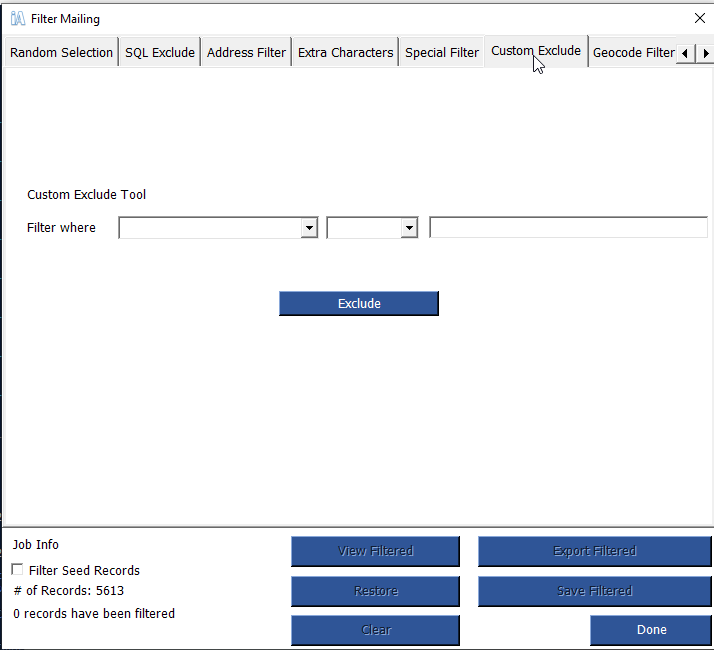
Custom Exclude Tool
- Using the Custom Exclude Tool allows you to remove addresses based on very specific criteria from any field within your database. Click on the tab labeled “Custom Exclude Tool”. Select the field you wish to use from the Filter Where drop down.
- The center drop down menu contains the selection operators. Empty fields can be detected using ” is null ” or non-empty fields with ” is not null “. Comparing alphanumeric fields can be done using the ” like ” operator with wildcard characters. For example ” *main st ” would select anything that ended in ” main st “. For numeric fields, these include such operands as +, -, =, >, <.
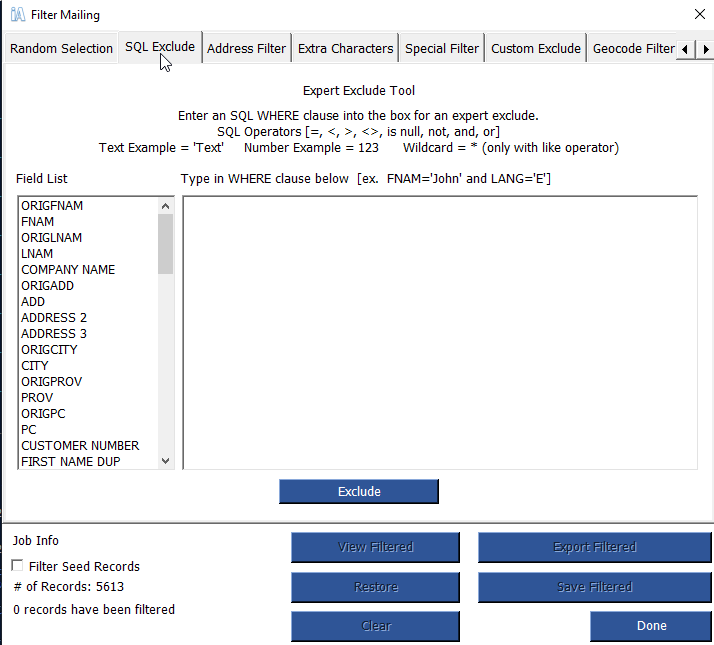
SQL Exclude
- The SQL Exclude tool is an advanced form of Custom Exclude tool allowing you to create your own SQL ‘ where ‘ clauses.
- The fields on the left are listed as a reference but can also be inserted in the WHERE clause text box by double clicking the field name.
- To generate the WHERE clause simply type the entire statement in the WHERE clause text box. The WHERE clause text box does not require the word ‘ Where ‘ simply begin from the first statement, for example CITY= ‘Buffalo’ AND STATE= ‘New York’ to select all records that match to the city of Buffalo and the state of New York.
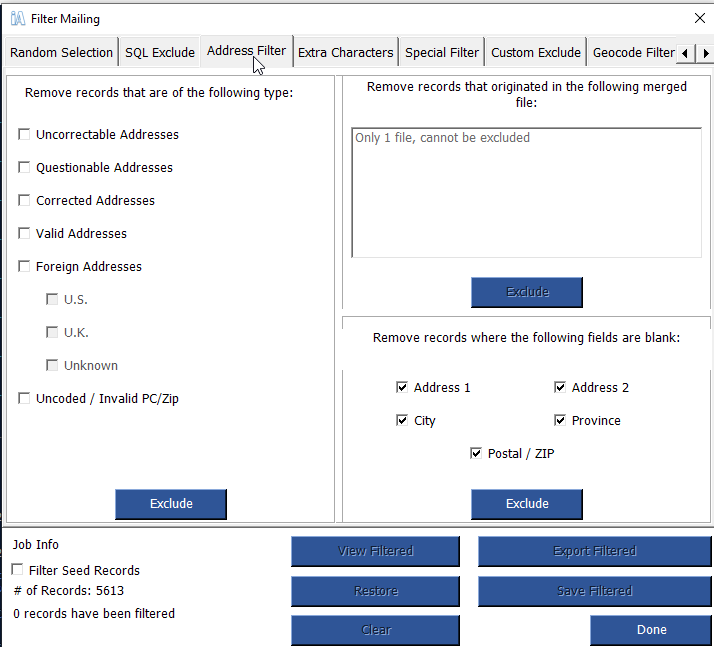
Address Filter
Address Filter tab has three specific functions.
The first allows you to remove records based on their correction status. Please note, that you must run a Correction/Validation before these options become available. These status types are:
- Uncorrectable
- Questionable
- Corrected
- Valid
- Foreign
- Uncoded
Select the type(s) of addresses you want to remove by checking the appropriate boxes. Click Exclude.
- Select files: may specify which records you want removed by the originating source file. To do this, select the record type and then files(s) from which you want the records removed.
- Blank lines: to remove addresses which do not contain data in certain fields, select the “Blank Lines” tab. Click the field you wish this condition to apply to and select “Exclude”
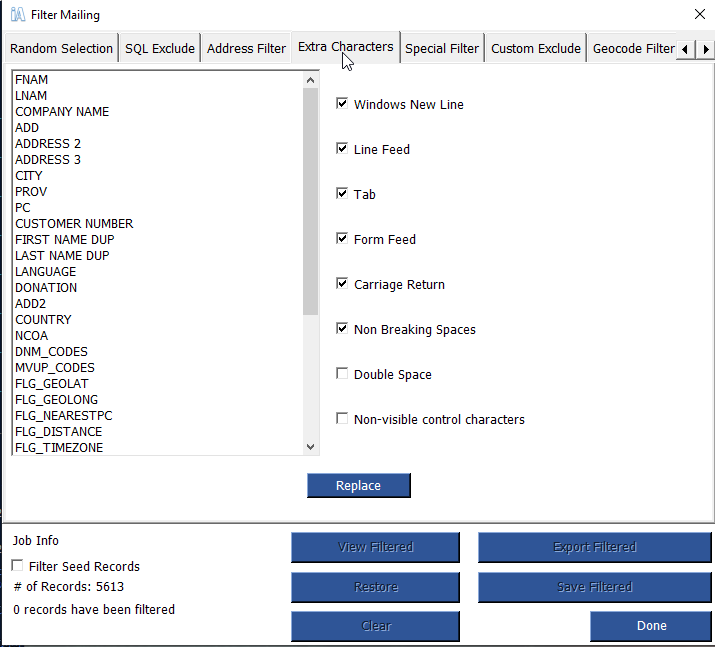
Extra Characters
- If your database contains symbols or characters within the data, you can remove them automatically by using the Extra Characters screen. Select the characters you wish to have removed, or leave the defaults if you are not certain. After selecting “Replace”, iAddress™ will tell you how many extra characters were found and replaced within your file.
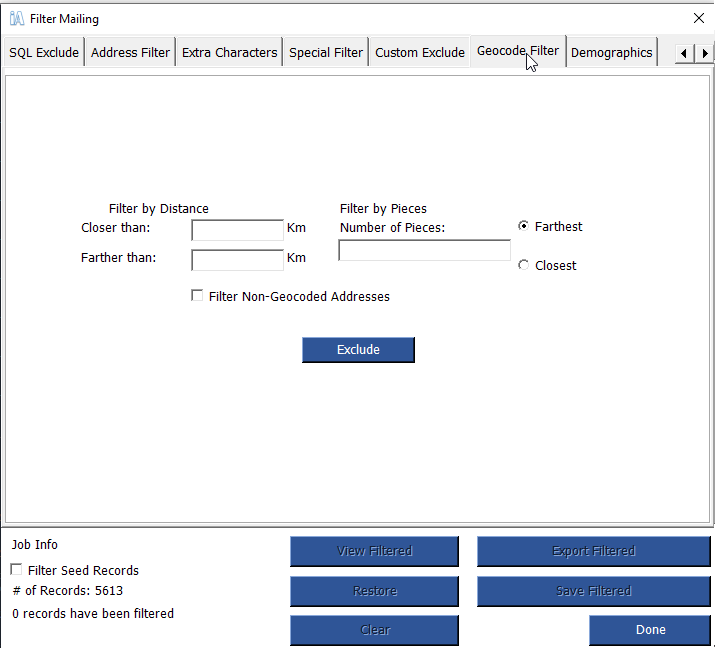
Geocode Filter (Canada Only)
- After you have run Geocoding on your file, you can use the filtering tool for targeted mailings. On this tab you can remove records from your database based on Geocoding results.
- You may filter out all records that are closer, or further then a specified distance with the Filter by Distance text boxes. You can also Filter by Pieces, which will remove the specified number or farthest or closest records. Checking the “FIlter Non-Geocoded Addresses” option will remove any records that were not geocoded.
Important!
Filtering records permanently changes your job. If you wish to keep your original job, ensure you have saved your job before filtering. Save your filtered job with a different name.
After Filtering
After filtering your records, you can choose to View, Restore, Clear, Export, or Save those filtered records.
View
Clicking “View” will show the filtered records in a database view.
Restore
Clicking on the “Restore” button will remove all your filters, and restore all the filtered records to the job. This only works if you have not cleared the filtered records using the “Clear” button.
Clear
Clicking on the “Clear” button will permanently remove all the filtered records from the job.
Exporting Records
If you wish to export your filtered records to a separate database, select the “Export Filtered” button and choose a name for your new file.
Saving Records
If you wish to have your filtered records split to a separate iAddress™ job, select “Save Filtered” button and choose a name for your new job.
Restoring Records
To restore filtered records, click the Restore Filtered Records button. Records that have been removed using Clear button cannot be restored.